How to Manage a Profitable Kitchen
Managing Food Inventory is one of the most dreaded tasks in the restaurant industry. It’s a long and tedious process full of headaches and late nights in the storeroom, and then comes the number crunching. But you know what? There are ways to alter your food inventory process to make it both easier for you and more profitable for your restaurant. Having an efficient food management system in place— whether it be through kitchen management software or traditional pen-and-paper methods—is crucial to running a successful food program.
By understanding how to streamline the most difficult tasks, you’ll have more time to spend on the fun parts—developing innovative recipes, spending time with your staff, and interacting with your favorite customers.
In this “How to run Restaurant Food Inventory” guide, we’ll show you how to improve your food inventory management— and use it to build a more profitable food program.
TAKING BETTER FOOD INVENTORY
Product Variance
What your product variance is and where your shrinkage comes from.
Set Pars
How to set pars for each product.
Build Recipes
How to build recipes to optimize menu profitability.
Food Costs
How to calculate your overall food costs.
The ultimate goal is to determine your food inventory usage for a specific period. Many factors play a part in this process, but here is the basic method. You’ll need to know:
- How much stock you had at the start of your inventory period
- How much stock you have at the end of this period
- How much stock you received during this period
You’ll take these numbers and use the following formula to determine your inventory usage:
Starting Food Inventory + Received Inventory – Ending Inventory = Usage
Once you know your food usage amounts, you can move on to the next step and turn this information into useful data to improve your food program’s profitability.
First, here’s what needs to be done to find the information that will help you answer this formula.
In order to determine your food inventory usage, you need a beginning and an ending inventory count, taken once at the start of the period and once at the end, respectively. Here are some tips before we get into the details:
- Take your count the same way every time; if you start counting from left to right, you should always count left to right.
- Keep your food inventory periods consistent i.e. weekly, bi-weekly, or monthly. This is important for keeping the numbers consistent.
- Find a method that works for you. Some chefs have one person calling out the names of items, while another replies with the count; others have individuals do the counting and recording alone.
- Take your food inventory while the kitchen is closed so that product doesn’t slip in or out during the count. This could jeopardize the results.
- Properly train your employees in food inventory counting. This includes things like keeping an eye out for theft, accurate counting procedures, and recording significant spoilage or breakage of whole bottles.
Let’s look at a step-by-step example of taking food inventory in the kitchen
This example establishment has a dry storage area, prep area, a freezer, and a walk-in cooler. This first count will take place at the beginning of your inventory period.
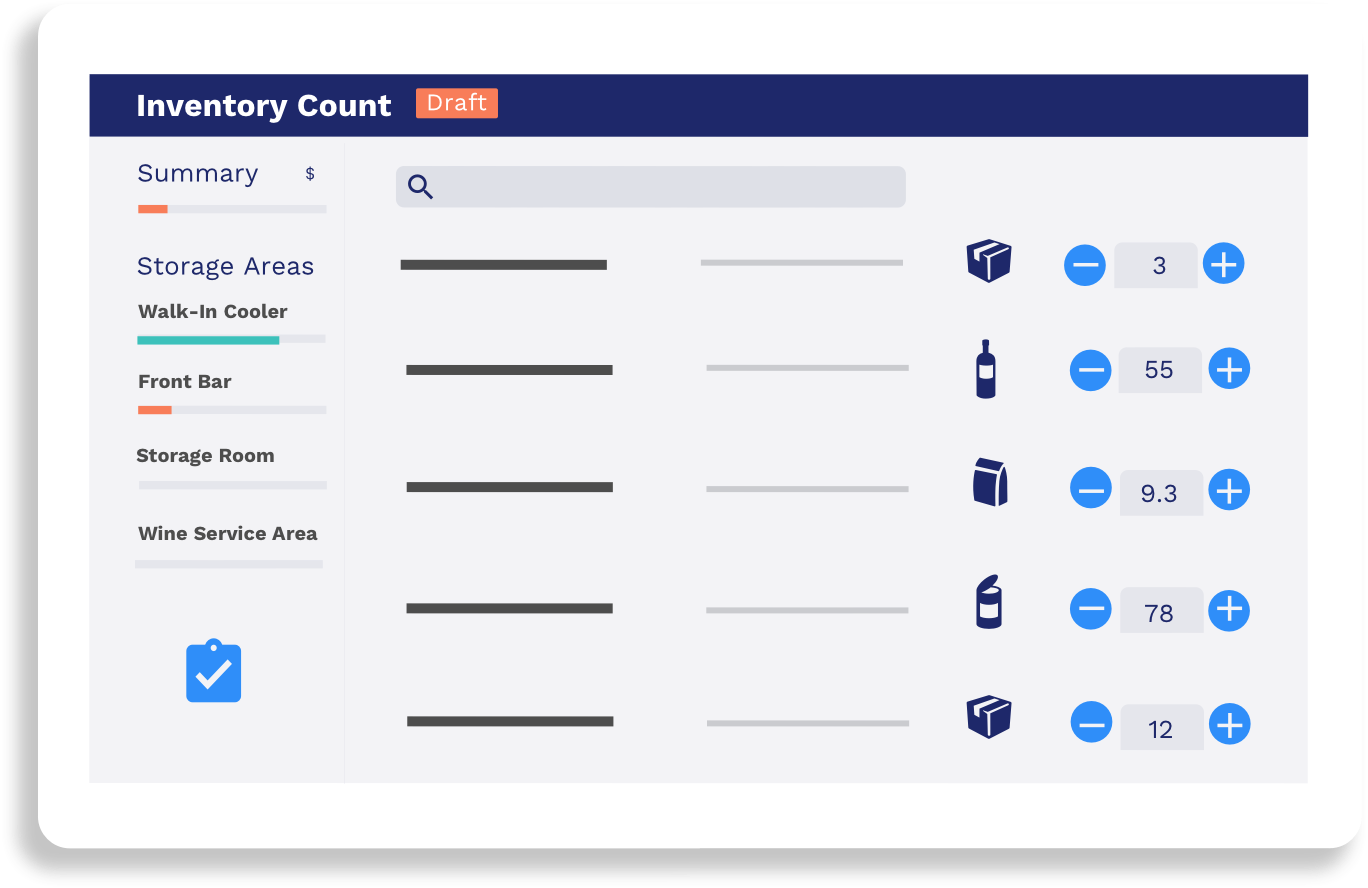
- If you’re still using spreadsheets to take food inventory list counts, we understand, but at least make sure it’s a spreadsheet that works for you.
- Arrange the spreadsheet according to the way your inventory is set in the location. This will save you from having to pull all the items on top of the counter and arrange them alphabetically.
- Start in dry storage. Count the items the way they’re positioned and, if needed, filter them alphabetically on the spreadsheet when you’re done. Include the product’s type, brand, name, and container size. Also include a column for your prep area, freezer, walk-in, or any other parts of the restaurant where inventory is kept..
- The easiest (and most commonly used) counting method is to visually take note of how much product is in each container, separating it into tenths. This is an estimate whether the package is half full (0.5), a third full (0.3), etc. This works for product that is based on weight, but if you are counting product that has individual pieces you may prefer to count “units” or “pieces”.
- Repeat this process of counting every product, and enter the numbers onto the sheet, separating them into produce, dairy, protein, or other categories you want to arrange by.
- Repeat this process for the prep area, freezer, and walk-in cooler. Your counts will likely vary here, based on a mix of cases and units, rather than just individual units only, so you may needto add another column to your sheet to account for this. For in- stance if a case comes with 12 pieces, you might want a column in the excel sheet that can convert from case to units and vice-versa.
- Finally, take your sheet and add up the totals for each category.
- At the end of the inventory period—whether it be a week, two weeks, or a month—you’ll take all these counts again, repeating the exact same food inventory process. This will leave you with a beginning and an ending inventory count.
Over the course of this period, you’ll sell and receive more food inventory. Keep a record of how much product you take in (this should be in your invoices from the week before), and the product you sell should be recorded in your POS system.
In a new spreadsheet, you should now have three columns with totals of all categories in each: starting, received and ending inventory.
Once you’ve determined your usage, you’ll be ready to do pricing and ordering, which we’ll cover in chapter two. Keeping a tight grip on the inventory process is crucial to increasing your food program’s profitability. Learning how to do food inventory was the first step, where we understood the formula for inventory usage. Analyzing what these numbers mean comes next.
Schedule time to chat with one of our product specialist!