Changing a keg is something every manager, or better yet, every employee should know in order to be a team player. It’s a right of passage. There’s actually a lot of draught maintenance you can handle for your bar to ensure your bar is running smoothly, without the downtime of waiting for a draught system professional. We’ll take a look at some fundamental draught maintenance skills like changing a keg, as well as the changing couplers, faucets, and gas tanks.
BevSpot strongly recommends you hire a professional to regularly maintain your draught system. This ensures that your beer tastes its best, and it can help minimize bar inventory loss from waste. They can also help with some of the maintenance addressed in the blog post (no, they won’t change a keg for you).
Start Your Free Trial With Bevspot Today!
Let’s start with the one that is a rite of passage for new bartenders and managers: change a keg. You’ll know you’ve done it right if you’re not covered in beer once you’ve finished. To begin, there are several types of couplers (the part that connects the draught line to the keg), but most of them connect and disconnect similarly. They tend to look like this:
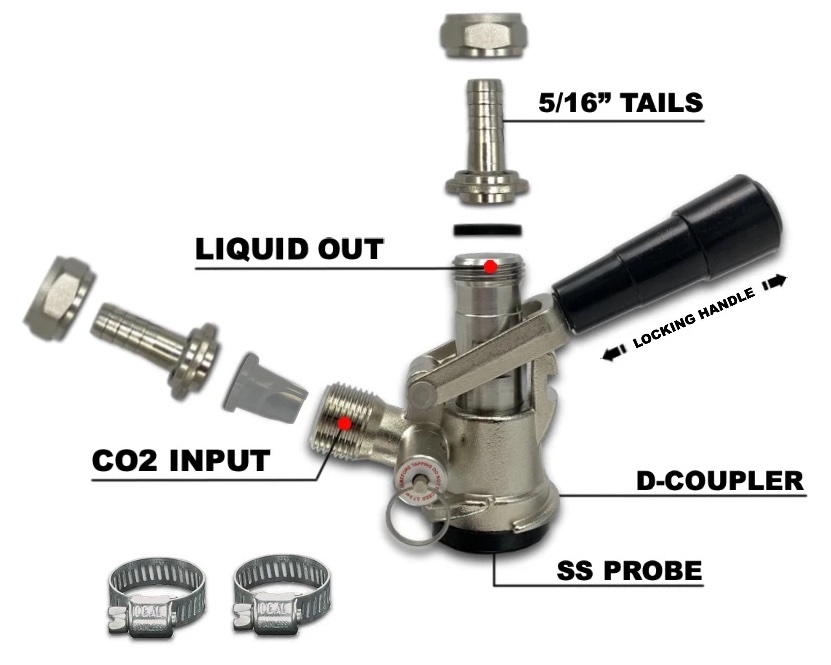 Type D Coupler (American Sankey)
Most systems work the following way: CO2 or Nitrogen goes in the side tube and leaves the keg via the top tube.
To disconnect a keg:
If this requires a lot of force, consider cleaning your coupler.
To connect a keg, you’ll reverse the process.
After changing, you’ll need to drain the lines a little bit to get out any old beer. It may be a pint or two depending on the length of your draught lines. This is an example of variance that you should expect in your beverage program. In some instances, you may need to change a coupler for your keg to work with your draught system or for cleaning.
Thanks for the info BevSpot, but my coupler doesn’t fit the new keg. The good news is that those can be changed. Most kegs from widely distributed U.S. breweries use a Type D coupler, also known as an American Sankey. Bars with European beers on draught are likely to need other couplers. If you’re unfamiliar with a keg you’re looking to order, check with your beer distributor representative to make sure you have the correct coupler available to tap it.
To replace a coupler:
If you’re adding a Nitrogen stout to your draught line-up replacing a CO2 IPA, you’ll need to know how to swap out faucets. To do so, you need a beer faucet wrench. Some wrenches come with a faucet tool on one end and a hex wrench for couplers on the other.
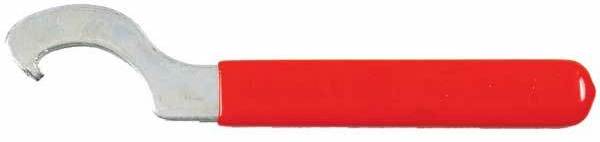 Faucet Wrench
To change a faucet:
Used for soda as well as kegs, these gasses are expensive, and a leak or empty syrup can really add up to a substantial loss of both gas and profits. Many gas companies charge a leasing fee for canisters, so letting empty canisters sit around will also end up being an unnecessary cost. If your draught lines are pouring weak or flat, chances are you need to change your gas. For this, you’ll need a hex wrench like the one pictured below. Typically, this is left attached to the regulator at the gas canister so it doesn’t get lost.
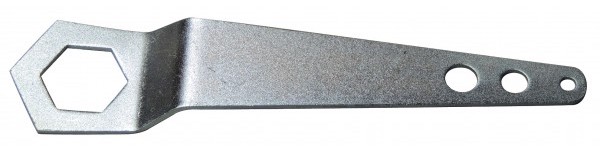 Hex Wrench
To change a gas canister:
A quick note on pressure (PSI): For CO2 beers, you’ll want 10-12 PSI, while Nitrogen beers need 35-30. These can vary slightly depending on your system, and you may need to adjust to get your beer perfect.
Having the knowledge and tools to help your bar run smoothly is crucial in running a profitable business; set your team up for success. Our goal at BevSpot is to provide you with all the tools you need to simplify bar managing duties such as faster inventory, facilitate ordering, and manage profitability.

Schedule 15mins to chat with a product specialist
Start a FREE Trial Today! BevSpot offers full product education and account setup for all customers! No card Information needed!